Tools Needed To Install A Vinyl Fence

Vinyl Fence Calculator Estimate Materials And Pricing Inch Calculator Vinyl Fence Cost Vinyl Fence Vinyl Fence Colors

Install A Vinyl Fence
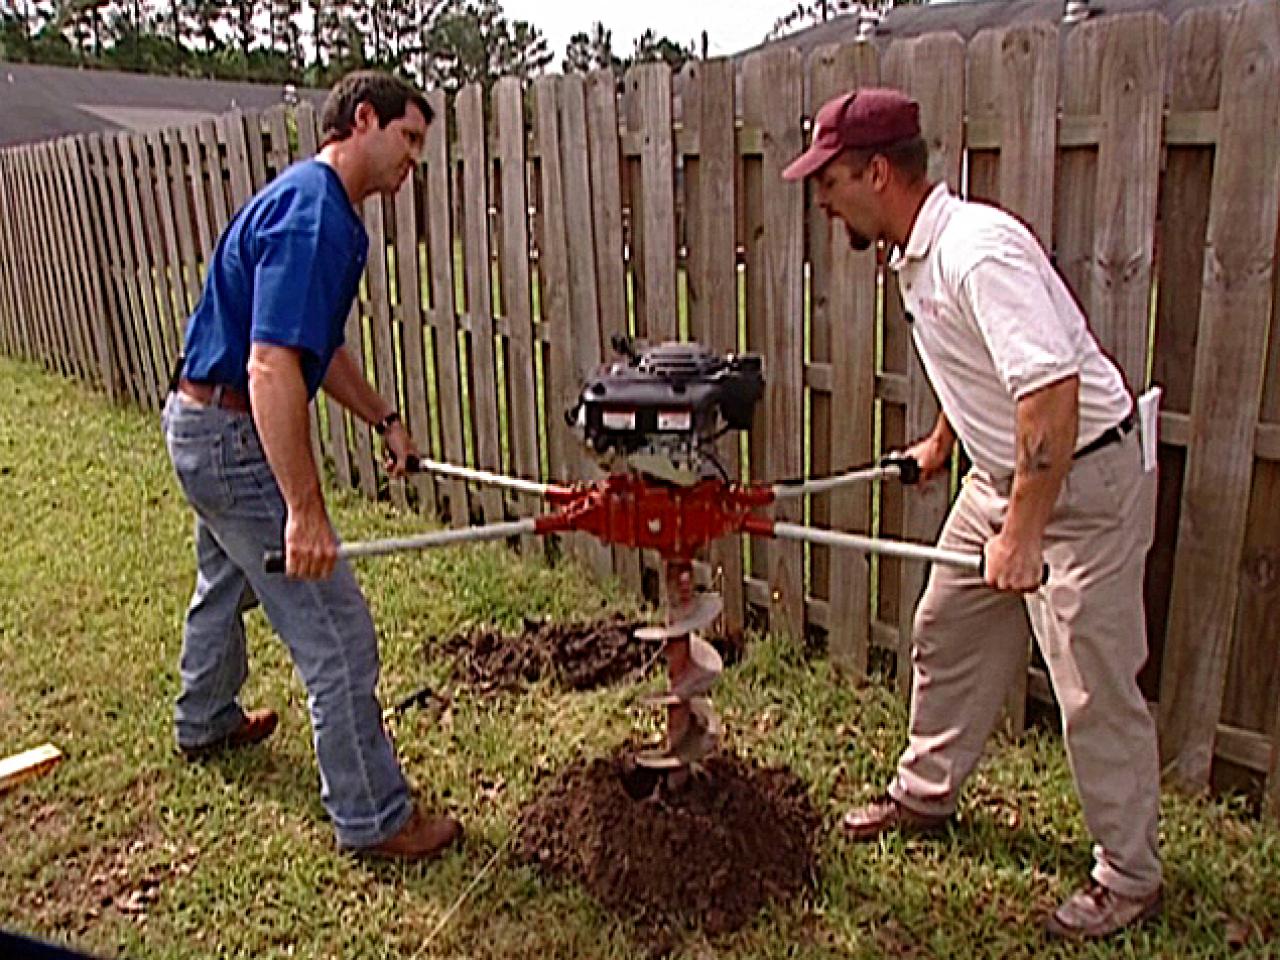
How To Install A Vinyl Privacy Fence How Tos Diy

Vinyl Fence Calculator Estimate Materials And Pricing Inch Calculator Vinyl Fence Cost Vinyl Fence Vinyl Privacy Fence

Activeyards Juniper Home Series Vinyl Privacy Fence Installed By Eads Fence Company Vinyl Privacy Fence Front Fence Vinyl Fence

Chestnut Brown Vinyl Privacy Fencing Future Outdoors Install Premium Vinyl Fence Call Future Outdoors For A Free Es Vinyl Fence Shade Structure Brick Fence

Vinyl fence materials are quickly becoming the most popular alternative to wood rail or picket fences.
Tools needed to install a vinyl fence.
Illusions Pvc Vinyl Fence Photo Gallery Illusions Fence White Vinyl Fence Vinyl Fence Modern Fence

How To Install Or Repair A Vinyl Fence Post Fence Daddy

Our New White Vinyl Fence Before After The Diy Playbook White Vinyl Fence Vinyl Fence Vinyl Fence Landscaping

Vinyl Fence And Retaining Wall Backyard Fences Backyard Fence Design
Source : pinterest.com
